01 · Practical guidance
Start with the actual material and condition
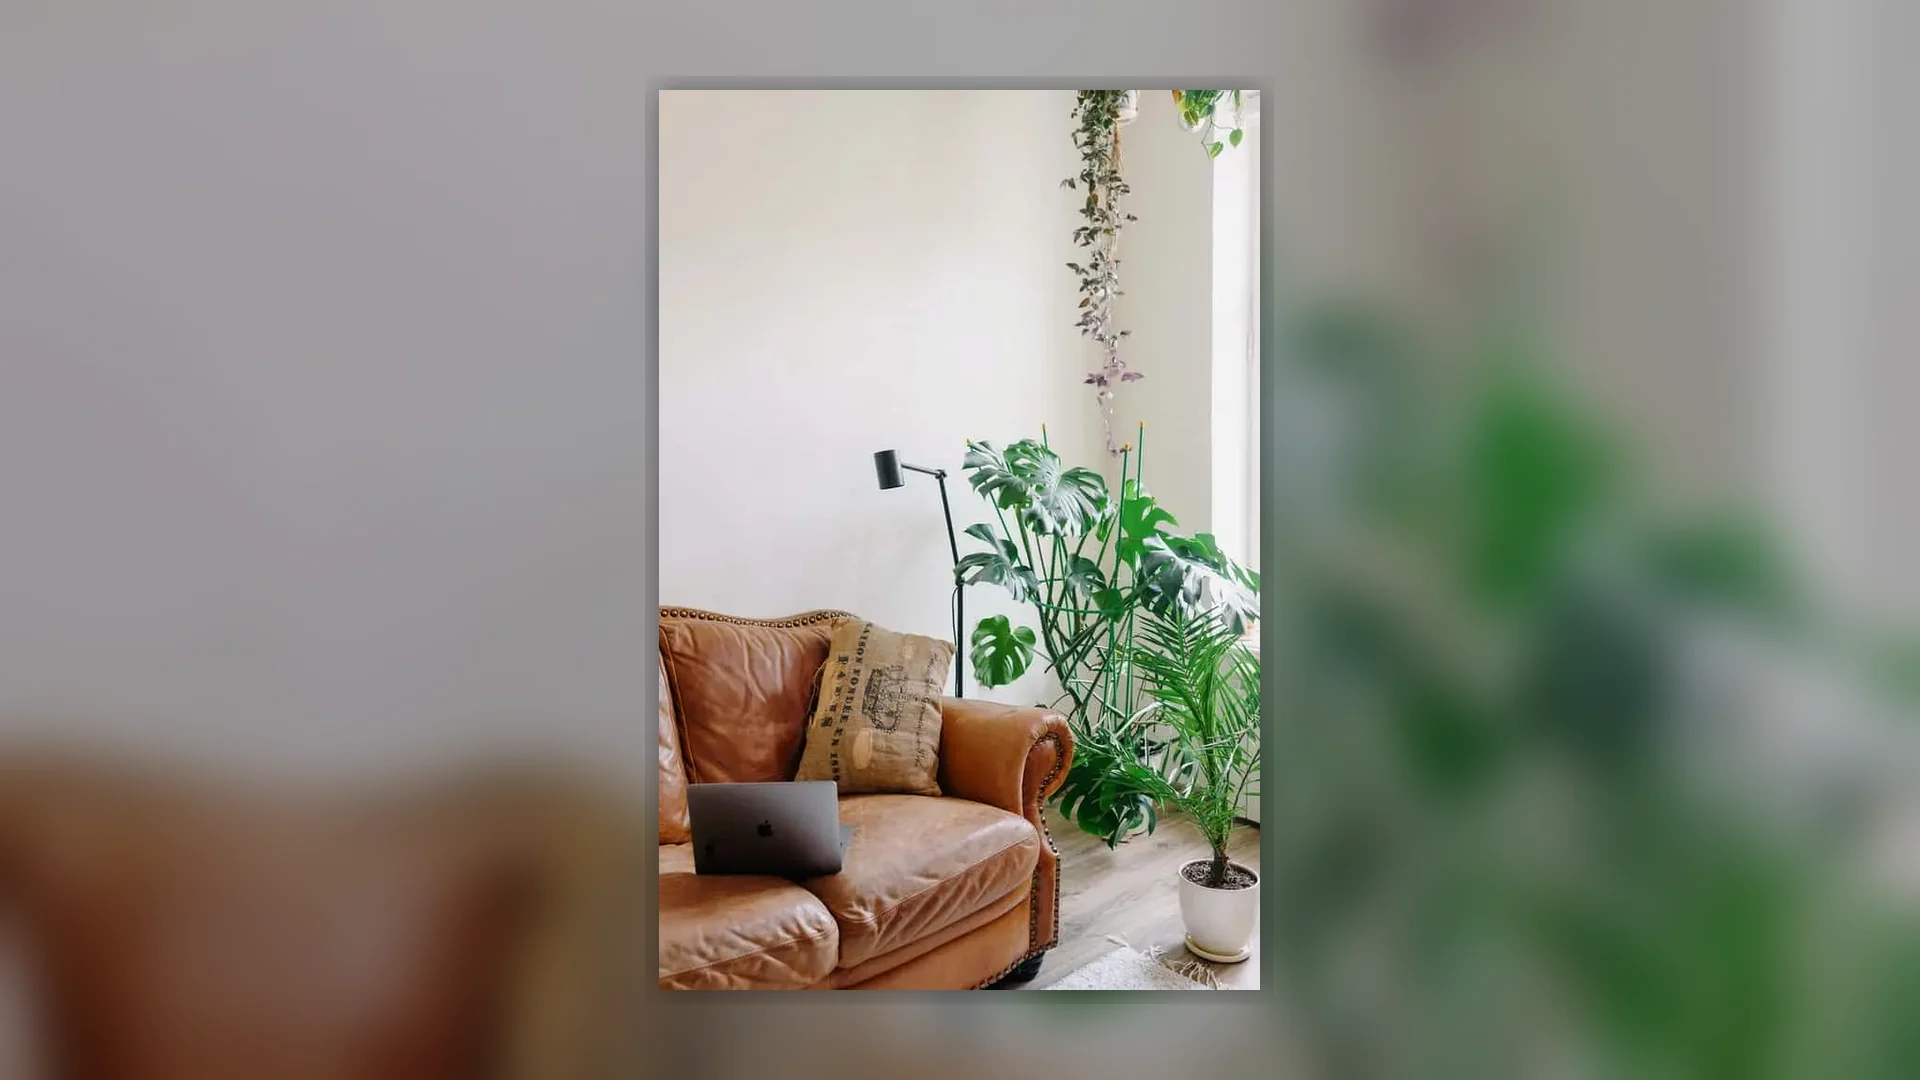
Identify the likely leather finish and check the manufacturer’s care guidance. The visible symptom is only one part of the decision. Construction, age, previous products, access and the difference between surface soil and permanent material change should be recorded before treatment begins. Good-light photographs and care labels make the discussion more useful, but they do not replace an in-person test where stability is uncertain.
02 · Practical guidance
Choose the least risky useful next step
Vacuum seams gently and test any approved product away from focal areas. A controlled sequence is more useful than adding stronger chemistry or more moisture. Protect adjacent materials, work from a defined test area and compare the result after the material has settled or dried. If the test creates colour movement, texture change, rings or residue, stop rather than extending the same method across the item or room.
03 · Practical guidance
Separate cleaning limits from damage
Stop if colour transfers, the finish changes or cracking and delamination are present. Cleaning may improve removable soil and odour sources, but it cannot reverse wear, fading, dye loss, delamination, tears, failed backing or unresolved building moisture. Naming that boundary early prevents repeated treatment from concealing the actual repair, replacement or restoration decision.
04 · Practical guidance
Prepare information for a practical quote
Record the Auckland suburb, approximate size or item count, material if known, access constraints and every product already used. Include photographs of the whole item or affected area as well as close details. For water-related concerns, also note when the incident was discovered, whether the source has stopped and any electrical, ceiling or contamination hazards from a safe position.